Sections let you structure your document into parallel slices, with titles, optional divider lines, and configurable colors. Sections can be rearranged with drag and drop or temporarily hidden, and events can be freely moved between them. Sections can also nest; you can subdivide a main section into subsections, to provide more context.

Section Headers
Each section has a header, which shows its title, and where you click to select or drag the section. By default, section headers are on the left, as shown above; you can also choose to place them above each section, in which case they appear as a bar spanning the entire document. (Change this in the Document Inspector.)
(It’s important to note that only the left-side header style allows sections to be divided into subsections; the across-top style has no way of showing subsections.)
Creating Sections
To add sections to a document which doesn’t yet have any, tap on Start Using Sections from the document context menu (popup menu by tapping anywhere in the document) or from the TimeStory application menu on iPad, under Sections. This results in a single new section being added to the timeline document. If there’re already existing events, they are all placed into this initial section.
In the context menu when a section is selected or in the Sections menu on iPad, you’ll find a common set of section-creation commands.
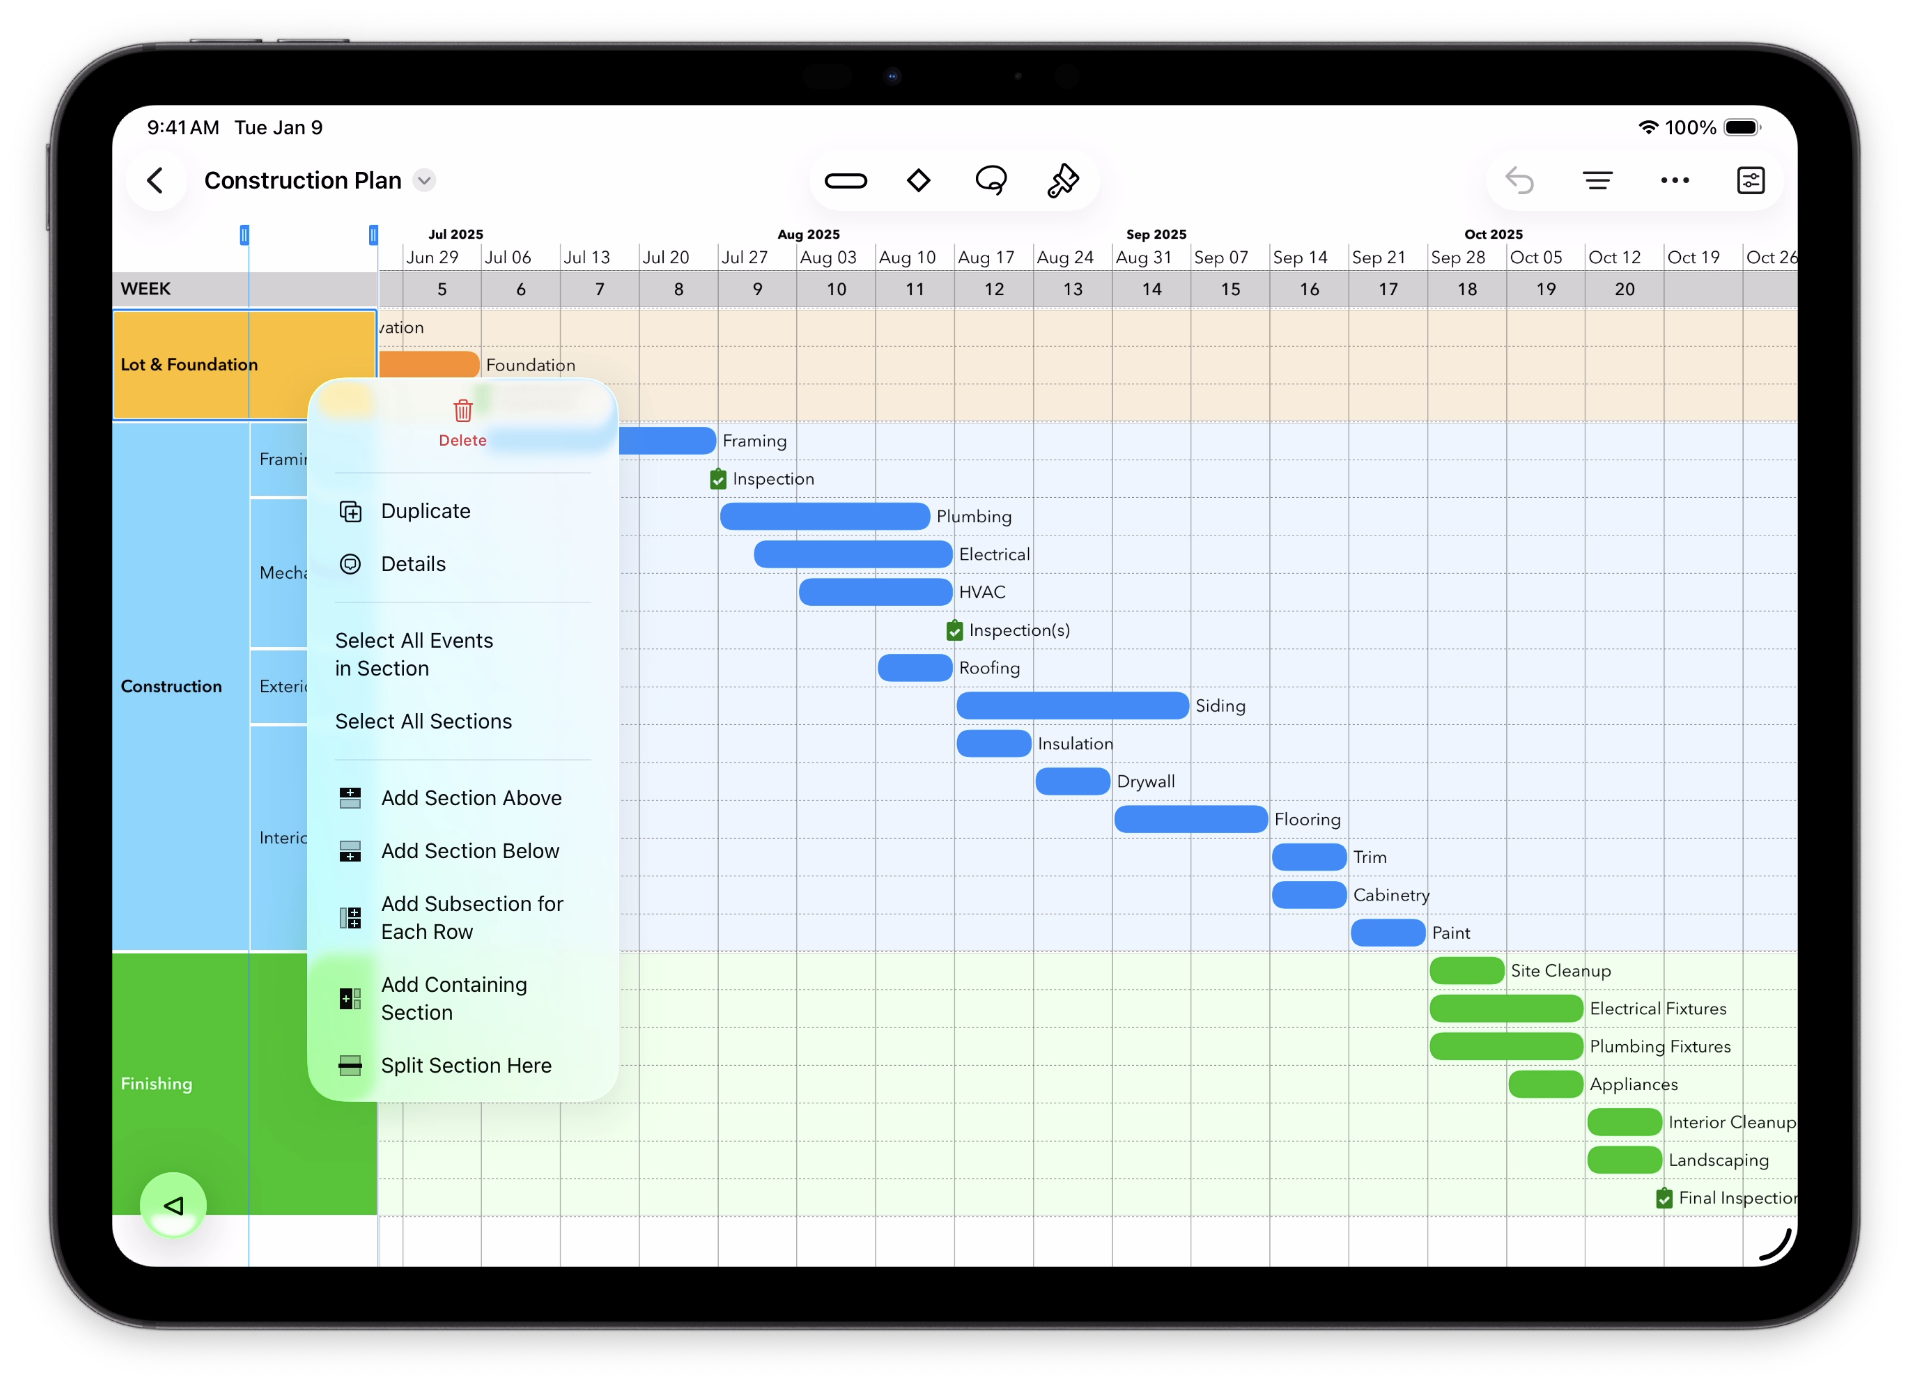
Use Add Section Above or Below to insert an empty section above or below the current section. Use Create Subsection for Each Row to subdivide the current section into subsections, one per row. Use Add Containing Section to wrap the selected section(s) into a new container. Finally, use Split Section Here to find the nearest row boundary within the section, and split the section into two at that point.
Duplicating Sections
You can select a section and use Duplicate in the context menu or under the Edit menu on iPad to make a copy of it. This duplicates not only the section itself, but any subsections and events contained within it.
Merging and Deleting Sections and Subsections
If using a keyboard with an iPad, you can pick two or more sections and use Merge Sections in the context menu or the application menu Sections on iPad to combine them. The merged section takes the name, style, and position of the uppermost selected section, and includes all the events from all the selected sections.
Select a section and use Delete to delete it. Depending on what it contains, and what it’s contained within, you will have up to three options:
- An empty section will just be deleted.
- If it’s not empty, you will be given the option to delete it along with all of its contents.
- If it’s a subsection of a larger section, and its contents can be “moved up” into that larger section, you will also be given this option. Note that you can’t have a section which contains both subsections and events, so this is not always possible.
Editing Sections
To change the title of a section, double-tap that title. To edit other properties of one or more sections, such as their header color or font, select them and use the Section Inspector.
You can grab a section header with your mouse and drag it up or down in the document to rearrange the order of sections.
Collapsing and Expanding Sections
A collapsed section shrinks down to a narrow strip across the timeline, hiding its contents. The look of this strip depends on whether you’re using the default left-side headers or the across-top headers, but they work the same way. This is useful for hiding details you don’t need at the moment, but want to remember are there.
You can find expand and collapse commands on the Sections menu on iPad, or on a section’s context menu.
Hiding Sections
A hidden section doesn’t appear at all, and can’t be selected; it’s kept within the document, but not shown at all. This is useful when you have background information, a completed subproject, or other content that you don’t want cluttering up your timeline, but you want to keep around.
Use Hide, from the Sections menu or from a section’s context menu, to hide a section. To reveal all hidden sections in your document at once, use Un-Hide All Sections under  or the TimeStory application menu Sections on iPad.
Selecting All Events in a Section
Often, you’ll want to apply a color or style change, or other edit, to each event in a section (or in multiple sections). Select one or more sections, then choose Select All Events in Selected Section under the context menu or the TimeStory Edit menu on iPad, to select all their contained events.